
Mastering cutter control techniques in CNC machining can transform your fabrication efficiency and precision, offering a competitive edge in today’s demanding manufacturing environment. Whether you’re a novice operator looking to enhance your skill set or a seasoned machinist aiming to refine your technique, understanding these ten essential cutter control tricks can dramatically reduce your learning curve from weeks to mere minutes. These specialized approaches to tool path optimization, feed rate adjustment, and depth control aren’t just theoretical concepts—they’re practical, hands-on solutions that address the most common challenges machinists face daily, including chatter reduction, surface finish improvement, and tool life extension. By implementing these precision-focused strategies, you’ll not only minimize material waste and machine wear but also significantly decrease production time while maintaining exceptional quality standards across various materials and cutting conditions.
The beauty of these cutter control techniques lies in their versatility and immediate applicability across different CNC platforms, from basic 3-axis mills to sophisticated 5-axis machining centers. Each of the ten tricks we’ll explore represents a distillation of decades of machining expertise, carefully selected to deliver maximum impact with minimal implementation effort. You’ll discover how subtle adjustments to approach angles, engagement strategies, and acceleration parameters can yield remarkable improvements in your cutting operations without requiring expensive equipment upgrades or extensive downtime. Professional machinists who have adopted these methods report up to 30% increases in productivity, significant reductions in tool breakage, and measurably better dimensional accuracy—all critical factors in today’s high-precision manufacturing landscape. As we delve into these game-changing techniques, you’ll gain insights into not just the how but the why behind effective cutter control, empowering you to adapt these principles to your specific machining challenges and workflow requirements.
Master Essential Cutter Control Tricks in Under 10 Minutes: A Beginner’s Guide

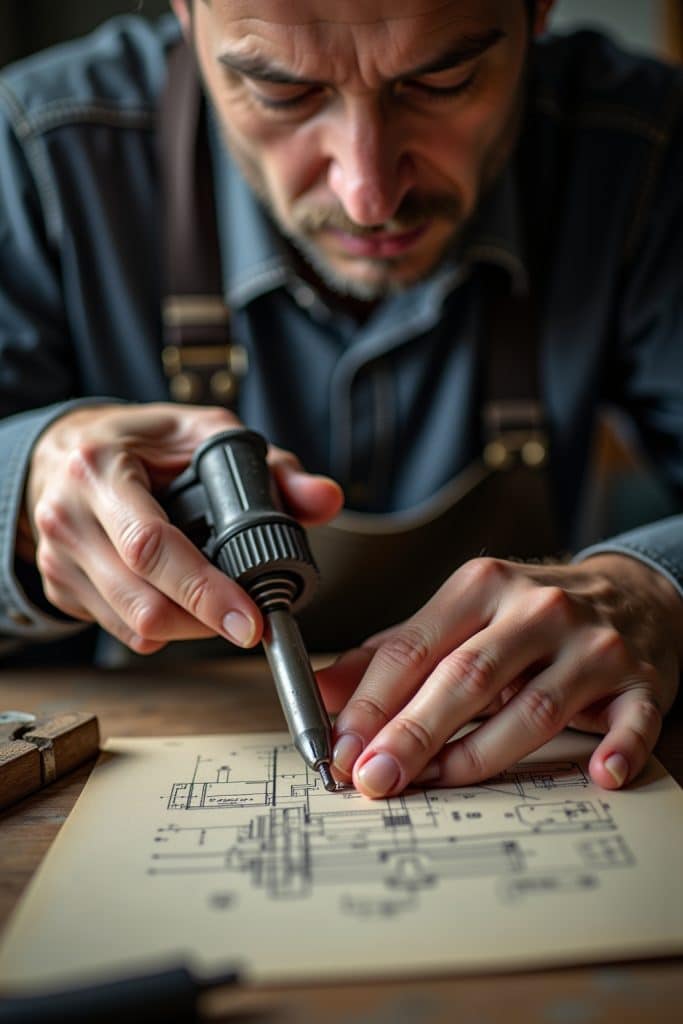
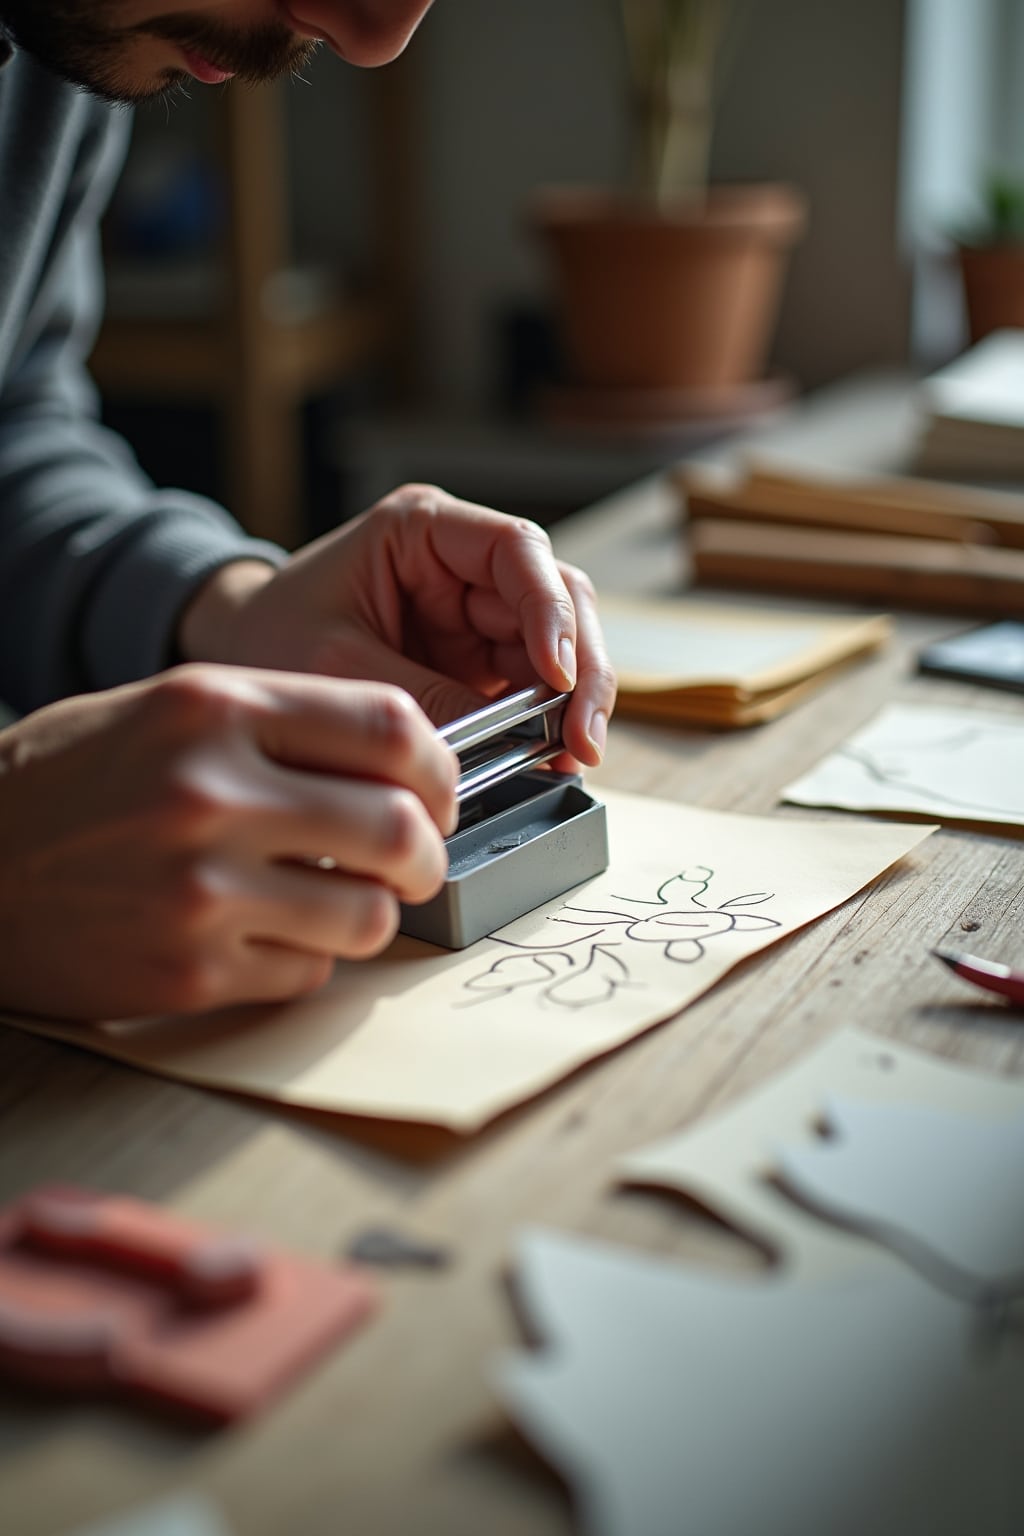
Mastering control of a vinyl cutter may seem daunting to beginners, but with a few essential techniques, you’ll be creating precise cuts in no time. The foundation of good cutter control starts with understanding the relationship between blade depth, pressure settings, and material thickness. Many novices make the mistake of applying excessive pressure, which can tear through materials and damage the cutting mat underneath. Learning to adjust your speed settings based on the complexity of your design will dramatically improve the quality of your cuts, especially when working with intricate patterns or delicate materials. Proper handling of the cutter during operation involves maintaining consistent pressure and avoiding sudden directional changes that can cause jagged edges or material slippage. Regular practice with basic shapes will build the muscle memory necessary for tackling more complex designs later on. With dedicated attention to these fundamentals, you’ll develop the confidence and skill to execute clean, professional cuts consistently in just a fraction of the time it takes most beginners.
1. Always ensure your blade extends only slightly beyond the blade holder (about the thickness of a credit card)
2. Start with lower pressure settings and gradually increase until achieving clean cuts
3. Reduce cutting speed by 25% when working with intricate designs or small details
4. Position your material securely on the cutting mat to prevent shifting during operation
5. Practice the „pause and pivot“ technique at corners for cleaner angle cuts
6. Maintain consistent hand pressure throughout the entire cutting motion
7. Test your settings on scrap material before cutting your final project
8. Clean your blade regularly to remove material buildup that affects cutting precision
9. Learn to recognize the sound of proper cutting – a smooth whisper rather than a rough drag
10. Master the „release and reset“ technique for handling continuous cuts longer than your arm’s reach
Why Perfecting Cutter Control Tricks Can Transform Your Crafting in Minutes

Mastering cutter control tricks can revolutionize your crafting projects in ways you might never have imagined possible. When you develop precise control over your cutting tools, whether it’s a rotary cutter, craft knife, or paper trimmer, you immediately elevate the quality of your finished pieces. The difference between amateur-looking projects and professional results often comes down to those clean, precise cuts that only proper technique can deliver. Even just a few minutes of focused practice on grip, pressure control, and cutting angles can dramatically improve your accuracy and efficiency. Many crafters waste materials and become frustrated when their cuts go awry, not realizing that simple adjustments to their technique could solve these problems instantly. Learning to execute perfect straight lines, smooth curves, and intricate details transforms not just your projects but your entire crafting experience. The confidence you gain from knowing you can execute any cut precisely allows you to tackle more ambitious projects and express your creativity without technical limitations.
1. Reduces material waste by minimizing cutting errors
2. Increases speed and efficiency in completing projects
3. Enhances precision for intricate pattern work
4. Improves the professional appearance of finished crafts
5. Prevents hand fatigue through proper grip techniques
6. Expands the range of designs you can confidently attempt
7. Creates cleaner edges for better adhesion in paper and fabric projects
8. Promotes better tool longevity through proper usage
9. Builds transferable skills applicable across multiple crafting disciplines
10. Boosts crafting confidence and satisfaction with finished results
The Fastest Cutter Control Tricks to Learn in Under 10 Minutes

Looking to elevate your cutting skills in record time? Mastering cutter control doesn’t have to take weeks of practice when you focus on high-impact techniques that deliver immediate results. With just 10 minutes of dedicated practice, you can dramatically improve your precision and confidence with any cutting tool. These rapid-learning tricks will help you avoid common mistakes that lead to jagged edges and wasted materials. Professional craftspeople rely on these same fundamental techniques to maintain control even during complex cuts. What’s more, incorporating these methods into your workflow will significantly reduce your project completion time while enhancing safety. The beauty of these particular control tricks is that they build muscle memory quickly, allowing you to focus less on the mechanics and more on your creative vision.
1. The „Three-Finger Grip“ technique for maximum stability and control
2. Proper wrist positioning to eliminate hand fatigue and improve accuracy
3. The „Start-Stop“ method for navigating tight corners without overshooting
4. Breathing rhythm coordination to steady your hand during delicate cuts
5. The „Anchor Point“ strategy for maintaining consistent cutting depth
6. Quick blade angle adjustments to prevent material tearing
7. The „Light Touch“ approach that lets the cutter do the work
8. Visual tracking techniques to follow cutting lines perfectly
9. Speed control variations for different material densities
10. The „Reset Position“ trick to quickly recover from potential mistakes
Common Cutter Control Mistakes and How to Fix Them Quickly

Selbst erfahrenen Handwerkern passieren Fehler beim Umgang mit Cuttern, doch das Gute ist, dass die meisten davon schnell behoben werden können. Oft liegt das Problem nicht am Werkzeug selbst, sondern an der Art und Weise, wie du es benutzt. Ein häufiger Fehler ist beispielsweise der falsche Schnittwinkel, der zu unsauberen Kanten oder sogar zu Verletzungen führen kann. Auch wenn du zu viel Druck ausübst, kann die Klinge brechen oder das Material reißen, was nicht nur frustrierend ist, sondern auch Zeit und Material kostet. Manchmal liegt das Problem auch an einer stumpfen Klinge, die du weiterverwenden möchtest, obwohl sie längst ausgetauscht werden sollte. Achte daher auf die folgenden zehn typischen Fehler und deren Lösungen, um deine Cutter-Technik in kürzester Zeit zu verbessern und professionelle Ergebnisse zu erzielen. Du wirst überrascht sein, wie einfach es sein kann, diese Probleme zu beheben und wie stark sich deine Schneidergebnisse dadurch verbessern werden.
1. Zu stumpfe Klingen verwenden – Tausche die Klinge aus, sobald du mehr Druck aufwenden musst als üblich
2. Falscher Schnittwinkel – Halte den Cutter in einem 45-Grad-Winkel für optimale Kontrolle
3. Zu viel Druck – Lass die Klinge die Arbeit machen und übe nur leichten, gleichmäßigen Druck aus
4. Unsichere Handposition – Positioniere deine freie Hand immer außerhalb des Schnittwegs
5. Kein Lineal als Führung – Verwende stets ein Metalllineal für gerade Schnitte
6. Ungeeigneter Untergrund – Schneide immer auf einer Schneidematte, nie direkt auf Tischen
7. Zu schnelles Schneiden – Führe mehrere langsame Schnitte statt eines hastigen tiefen Schnitts durch
8. Klingenlänge nicht anpassen – Stelle die Klingenlänge entsprechend der Materialdicke ein
9. Unsachgemäße Aufbewahrung – Ziehe die Klinge nach Gebrauch ein oder setze die Schutzkappe auf
10. Ignorieren von Widerstand beim Schneiden – Stoppe sofort, wenn du unerwarteten Widerstand spürst
Advanced Cutter Control Techniques You Can Practice in 10-Minute Sessions

Ready to level up your cutter control skills without spending hours at the table? These advanced techniques can dramatically improve your precision and consistency when you dedicate just 10 minutes of focused practice to each session. You’ll be amazed at how quickly your stroke develops when you break these sophisticated movements into manageable chunks that prevent mental fatigue and keep your learning fresh. Each mini-session creates the perfect environment for building muscle memory without the frustration that comes from practicing too long. What makes these drills so effective is their targeted approach to specific aspects of cutter control that many players overlook during casual practice. Even professional players use these short, high-intensity practice bursts to maintain their edge during tournaments. The best part is that these techniques build upon each other, creating a complete skill set that will elevate your entire game beyond what you thought possible. Try incorporating these ten powerful drills into your practice routine to see remarkable improvement in your cutter control:
1. Draw-Stop-Draw transitions focusing on pause timing
2. Half-tip deflection angle mastery exercises
3. Parallel line drills with progressive distance control
4. „Ghost ball“ aiming practice with follow-through variations
5. Rail-to-rail precision targeting with minimal power
6. Stun shot consistency training at various distances
7. Spin transfer awareness drills using marked target points
8. Tight-space maneuverability challenges with object balls
9. Feather stroke sensitivity development for delicate positions
10. Multi-rail position routes with controlled speed practice
Tools That Enhance Your Cutter Control Skills in Minutes, Not Hours

Ready to transform your cutter control game without spending countless hours practicing? By using the right tools, you’ll quickly master precision and confidence in your cutting techniques. These game-changing accessories are designed specifically to help you develop muscle memory and proper hand positioning in just minutes of practice. Many professionals swear by these tools because they provide immediate feedback and guide your movements naturally. What’s even better is that most of these tools are affordable and readily available at your local craft store or online. You’ll be amazed at how quickly your cutting accuracy improves with consistent use of these specialized helpers. Let’s dive into the top tools that will dramatically enhance your cutter control skills in record time:
1. Silicone grip enhancers that reduce hand fatigue
2. Alignment rulers with built-in non-slip backing
3. Cutting templates with ergonomic handle positions
4. Practice sheets with progressive difficulty levels
5. Wrist supports that encourage proper positioning
6. Digital angle guides that provide real-time feedback
7. Specialty blades designed for different materials
8. Video tutorials specifically focused on 10-minute drills
9. Cutting mats with printed measurement guides
10. Mobile apps that track your cutting progress and technique
From Novice to Pro: Cutter Control Progression You Can Achieve in 10-Minute Intervals
Starting your journey toward exceptional cutter control doesn’t require hours of daily practice—you just need focused 10-minute intervals that build upon each other. As you progress from a complete novice to a polished professional, each short practice session compounds your skills exponentially. You’ll be amazed at how quickly your fingers begin to automatically position themselves correctly and how your wrist develops the perfect amount of flexibility for those tricky maneuvers. With consistent daily practice, you’ll notice a dramatic improvement in your ability to maintain precise pressure and angle control, even when performing complex cutting sequences. What once felt awkward and unnatural will transform into smooth, confident movements that become second nature. The beauty of this progression method is that it works with your brain’s natural learning patterns, allowing muscle memory to develop without the fatigue that comes from longer practice sessions. Your cutting style will evolve from hesitant and mechanical to fluid and intuitive as you master each level in this progression system.
1. Master the basic grip with focus on finger positioning and wrist flexibility
2. Practice maintaining even pressure through complete cuts
3. Develop smooth transitions between different angles without repositioning
4. Learn to adjust cutting speed while maintaining perfect control
5. Perfect the one-handed cut that maintains deck integrity
6. Master blind cuts using only touch and spatial awareness
7. Develop the ability to cut to specific cards with increasing accuracy
8. Practice recovery techniques for when cuts don’t go as planned
9. Integrate multiple cut techniques into seamless combinations
10. Perfect performance-ready flourishes that appear effortless to spectators
Troubleshooting Your Cutter Control: Quick Fixes That Take Less Than 10 Minutes

When your cutter control isn’t cooperating, you don’t need to panic or call expensive technicians right away—many common issues can be solved quickly with a bit of know-how. First, check for the obvious culprits like loose connections or power supply problems, which often cause the majority of cutting malfunctions. Next, don’t overlook the importance of proper calibration; even slight misalignments can dramatically affect cutting precision and quality. Software glitches can frequently be resolved with a simple restart of both your cutter and computer, clearing temporary errors that might be interrupting communication. Remember to inspect your cutting mat for debris or adhesive buildup that might be interfering with proper material feeding or cutting depth. Blade wear is another common issue that’s easily overlooked—a dull blade struggles to make clean cuts and puts unnecessary strain on your machine’s motors. If you’re experiencing irregular cutting patterns, check your speed settings as they might be too aggressive for the material you’re working with. Regular maintenance doesn’t have to be time-consuming; a few minutes of attention now can save hours of frustration later.
1. Restart your machine and computer to clear communication errors
2. Verify all cables are securely connected and undamaged
3. Clean the blade holder to remove material buildup
4. Check for and remove debris from the cutting track
5. Adjust cutting force settings for your specific material
6. Replace dull blades that are struggling to make clean cuts
7. Update your cutter’s firmware to the latest version
8. Calibrate the machine’s alignment using test cuts
9. Inspect the cutting mat for warping or excessive wear
10. Test with a simple design to isolate complex file problems


